Showing posts with label Recipes. Show all posts

Thursday, January 28, 2016

Yellow Split Pea Curry


Back when my husband was working on his Master's Degree and we were living in a cute little one-bedroom apartment, I became the Queen of Dry Beans. Not a very attractive title, I know, but it did fit. Our budget was very tight, so I cut most meat out of our menu and replaced it with beans to save money at the grocery store. If my friends had extra dry beans, they kindly gave them to me, and we used them! We went through about 6 lbs. of dry beans a month. While we don't eat dry beans that often anymore, I still keep them in the menu at least once a week. They're healthy and budget-friendly and we still love them!

I didn't come up with this recipe during that time, but that is when I became really good at cooking dry beans. Believe me, they're not as hard as they might seem at first sight. Haha!

Yellow Split Pea Curry
Prep Time: 20 min.
Cook Time: 30 min.
Yield 8 Servings

1 lb. Beef steak or your preferred meat (optional), sliced into bite-sized pieces 
1 C. Yellow Split Peas
4 C. Beef Broth
1/2 Head Cauliflower, Chopped
1 Yellow Onion, Chopped
1 Bell Pepper, any color, Sliced
1/2 Package White Button Mushrooms, Sliced
1/2 Package Sugar Snap Peas
1 Can Bamboo Shoots
1 Bottle Thai Yellow Curry
Salt and pepper to taste

Wash and sort yellow split peas. Put split peas and broth in a small pot and boil for 30 min., or until split peas are tender. Meanwhile, saute beef in a deep saute pan over medium heat, salt and pepper to taste. Once browned, remove beef  from pan and set aside, leaving drippings. Return pan to heat and add in cauliflower, onion, and bell pepper. Remove split peas from heat and drain off broth. Once vegetables are softened, add the meat, split peas, and remaining ingredients. Reduce heat and allow to simmer about 5 minutes or until reaches desired thickness. Serve over jasmine rice and enjoy!

Wednesday, January 27, 2016

Cranberry Walnut Chocolate Chunk Cookies


You will love these delicious, chewy, perfect cookies. Make sure to follow all of the instructions and the next thing you know, you will be making these on demand regularly!

These cookies are soft, chewy and packed with flavor. Believe me when I say, there are a lot of bad cookie recipes out there. No one wants a puffy, dry, hard or puddley cookie. That is why when I find a good cookie recipe, I stick to it!! Enjoy the recipe and get in the mood for Valentines Day!! This cookie looks festive with its red cranberries and dark chips. They are perfect for whatever Valentine function you have coming up!


Cranberry Walnut Chocolate Chunk Cookies

2 1/4 c. Flour (leveled off)
1 tsp. Baking Soda
11/2 tsp. Corn Starch
1/2 tsp. Salt
3/4 c. Unsalted Butter
3/4 c. Brown Sugar
1/2 c. Granulated Sugar 
1Large Egg + Egg Yolk
2 tsp. Vanilla Extract
1 c. Chocolate Chips or Chunks
3/4 c. Cranberries
1/2 c. Walnuts (optional)
1/2 c. White Chocolate Chips(optional)

Instructions: 
1. Mix flour, baking soda, corn starch, and salt.
2. Separately mix MELTED butter, brown sugar, and granulated white sugar until there are no lumps. Whisk in the egg and yolk. Then add vanilla extract. 
3. Mix flour mixture with wet mixture. 
4. Mix in chocolate chunks (or chips), walnuts, and cranberries.
5. Cover and chill for 24hrs. (Or at least 8hrs.)
6. Take dough out and let soften for 10min. Preheat oven to 325 degrees. Roll cookies into a cylinder shape. Make sure each cookie dough ball is taller rather than wider. 


Put 8 cookies on the cookie sheet if each cookie is about 3 tbs. Press a couple extra chocolate chips into the top of each cookie. 

Bake for 12 min. at 325 degrees. Let cookies cool on cookie sheet for 10 min. before removing. 

Enjoy! 


Thursday, September 24, 2015

The Birthday Letters and Rice Crispy Cake

My Lil' O recently turned 3. It's crazy, I know!
A little before his first birthday, I had a friend who I noticed wrote letters for her children on their birthdays each year. I loved the idea, so I made it a tradition in our house.
Each year, on or just after their birthday, I write a special letter to each of my children. I include their achievements from the year, their current favorite things, the special characteristics we love about them, and any extra thoughts I want to include.
Someday, around the time they prepare to leave the nest, I'll give them all the birthday letters as a gift. I hope it will provide them with a special memory of their childhood and a reminder of how far they've come and how strong they are.
Here's O's birthday letter this year:

Dear Oliver,

Happy Birthday my Little Man, you're three years old! This year was pretty big for you, you made lots of changes and started lots of new things!

The biggest change was becoming a big brother, and what a great big brother you are! You've loved Elliott Dan from the moment we found out he was coming. You would hug and kiss my belly and say, "I love Elliott Dan." It was so sweet. Then he came and you were so excited! You've never been jealous or gotten upset about him taking some of my time. You tell me important things you're going to teach him when he gets bigger all the time. I think you're going to be such a great teacher and protector and companion for Elliott!

This year you also learned how to ride a big boy bike with training wheels and go to the bathroom by yourself without diapers. What a big boy you're getting to be. Your Dad and I can hardly believe it! You are learning so much so quickly! You've also memorized the first three Articles of Faith, the ABC's, and you can count to 14. You love the time we spend together learning about all sorts of new things, like the Hubble Telescope. You're like a sponge, you love to soak in all the information you can. You have so many questions about the world that I have a hard time keeping up sometimes!

There are lots of things you love to do. Your favorite right now is building space ships and other things out of Legos. You're a great builder, I love watching you fit the pieces together! You also love riding your bike and reading. Sometimes we sit on the coach and read together for over an hour. You love critters and want to make friends with anything we meet. You still love anything that has to do with trains, your Dad loves it!

We love watching you grow and sharing your love for everything new. We want you to know how much we love you and how much your Savior and Father in Heaven love you. This year you started to bear your testimony on fast Sundays. We encourage you to continue to share your testimony and help it grow. You've helped me strengthen my testimony of the family and the love Christ has for us. I'm so grateful for you in our lives. I love your sweet smile, funny sense of humor, and little freckles. I can't wait to spend another year watching you grow. I love you!

Love,
Your Mom


This year for his birthday, O got to celebrate twice. Once in Idaho with all our family there, and again on his actual birthday after we got back. Both times he really wanted a Thomas the Tank Engine cake. Lil' O is allergic to eggs and doesn't really like cake, but he loves rice crispy treats. So, I decided I could make a fun rice crispy treat cake for his birthday. I, of course, turned to pinterest, where I was a little disappointed in the lack of tips and tutorials on making a rice crispy cake. After getting some great tips from my husband's step-mom, who made a gorgeous rice crispy cake for my brother-in-law's wedding, I dove elbow deep into marshmallows, butter, and rice crispies. 
Here's how each turned out:


Here's how I did it:

First, I came up with a plan for the shape of my cake. The awesome thing about rice crispies is there's no baking, so you can use whatever pan/dish/tupperware is the shape you want. For the first cake, I used a deep fry pan and a springform cake pan.
They were the exact sizes I needed and I liked that they would have different edges when I pressed the treats in. The bottom layer's edge would be rounded while the top layer's would be squared.

For the second cake, I had to get a little more creative so I could have a rounded top on the hill. I used a deep frying pan, a small pot, and a bowl that fit perfectly on the pot when turned upside-down.

To prep the forms I simply lined them with tin foil and coated them with a little butter so the rice crispy treat wouldn't stick.


Next, I gathered my supplies. It took a surprising amount of rice crispies to fill my forms. The first time I had to send my husband running to the store for more of everything, since it took twice the amount of rice crispy treats I was anticipating. For example, the first cake took 5 1/2 batches of rice crispy treats. The second took 3 batches.

Third, I made the rice crispy treats and pressed them into the forms. This was a bit of a process. After the first batch, I got into a rhythm. I would make a batch of rice crispies, pour it into a form, start the next batch of rice crispies, and then go back and press the previous batch down. This would give the first batch a little time to cool before I buttered my hands up and started pressing it in. I was told that pressing the rice crispy treats into the forms tightly is crucial, especially if you're making a layered cake. This makes the layers strong enough to stack.

Here's the recipe I used:
Rice Crispy Treats
1/2 c. Butter, cut into a couple pads
1/4 tsp. Vanilla

In a saucepan, melt the butter over medium heat. When the butter is almost melted, add the marshmallows and continue to stir until melted. Remove from heat and stir in vanilla and cereal. Press into pan.

Fourth, I left the treats to set up and cool while I went to find a cake plate. I left my treats for several hours so they were well set-up before I started removing them from the pans. In the meantime I went searching for a cake plate big enough to fit my bottom layer. Thankfully, I was able to find one stashed away in the basement! I cut a piece of wax paper to put between the cake plate and the cake for easier clean-up later.

Fifth, I removed the treats from the pans and assembled the cake. This was a little trickier than I had anticipated. I was grateful for the tip to use tin foil. This allowed me to remove the treats from the forms and set them where I wanted them without getting sticky. I simply removed the tin foil after they were set in place. After I got the first layer on the cake plate, I used a knife to cut around the edge of the wax paper I had set down so it wouldn't show later.

Before I set the second layer on, I wanted something delicious in between. I grabbed the jar of Nutella and slathered it on.
There wasn't quite enough left in the jar to cover the way I wanted, so I also added some frosting.
Here's the assembled cake before I decorated it:


Finally, I decorated it. We're not really lovers of fondant at my house, and I'm not the best frosting maker, so I simply used a couple cans of store-bought frosting. It was fun coming up with a plan for the train tracks and seeing everything turn out. The best part was seeing O's face each morning. He was so excited about his Thomas cakes!


So, next time you have a birthday in your family, try something new and fun and make a rice crispy cake!
Don't forget a serrated knife to dig in!

Monday, July 6, 2015

Lunchtime Under the Pressure of Swimsuit Season

Have you had to put on your swimsuit yet this season? Well I have and just like every summer I had the same reaction.

"Why have I not been preparing for this moment???" 

Then I swore I would keep my appetite under control and put in the necessary squat and crunch time...

...Then lunch time rolls around and I'm starving! The last thing I want to eat to satisfy my hunger is a boring salad. Don't get me wrong, I love veggies, but I need some variety and creativity! Well today I am going to let you in on a little secret. When I have an array of veggies that I am planning on eating for lunch and I need something more exciting than a salad, I make a rice paper roll.
Doesn't it look delicious? That's because it is! And that puppy is CRAMMED with nutritious veggies and savory turkey breast. 

It all starts with these simple little rice papers. They come in a pack with what seems like a jillion papers in it. Seriously, I've had this same pack of papers forever.
I bought the Mekong brand but I have found other brands on Amazon that look like they would work great and be more affordable. Another option is picking up a pack in your local grocery store. The awesome thing about these bad boys is that the only ingredients are tapioca, rice, salt, and water.  I did a little digging around and found brown rice paper also! So if you are allergic to white rice you might want to give the brown rice papers a try.
The instructions are simple and to help you through this new process I have created a picture-by-picture guide.

I like to always keep a head of cabbage in my fridge because it lasts forever without going bad and I can throw cabbage in a rice paper wrap with whatever other veggies I have on hand. 
I chop about 1/2 cup if I am only making one wrap. 

Next, I look through the fridge and chop up any other veggies I spot in there that look like they would work. This can be anything, but here are some veggies I have tried: zucchini, crook-neck squash, onion, spinach, mushrooms, carrot, cucumber, tomato, and avocado.

Today I used cabbage, carrot, spinach, and onion.

The way you cut the veggies doesn't really matter but I do long strips to more easily fit in the rice paper wrap. Also, I cut the carrots on an angle to make them longer pieces (As shown below).

*Side Note: A couple of years ago my husband's grandparents went to Alaska on a trip and they brought us back an Alaskan cutting knife and board. At first I thought that it was a souvenir to display rather than use. I'm so glad we started using it because now we use it every day. It is so much faster and easier than a traditional knife and cutting board. My husband actually refuses to use our other knives and cutting boards. Haha. 
I cut a little less than 1/4 cup each of my other veggies.

Today I included turkey breast lunch meat, any type of meat would work but meat is not required. I usually eat my rice paper rolls without any meat at all. (The boys in the audience let out a huge GASP) ;)

Now for the fun part. Select a sheet of rice paper.

Fill your sink with a couple inches of warm water and dip the sheet in the water for about 5 seconds.

Remove the sheet from the water and let it drip for a couple of seconds.

Now place the wet sheet on your plate.

Put the veggies and meat that you chopped up toward one side of the middle of the circle.
(My veggies are slightly to the left)

At this point you may add some sort of sauce. I always use Sriracha sauce but soy, oyster, teriyaki, or any other type of desired sauce would work. *Note: sauce is optional.

Next, fold up the ends.

Now tuck and roll.

 Keep rolling...

Once you had rolled it completely, the end will stick to the roll. That paper sticks to itself very nicely.
At this point I cut up some fruit, fill up an icy water bottle, and sit down to enjoy lunch. Sometimes I dip my wrap in some sauce but only on days I am feeling saucy ;) Just kidding. 
P.S. My husband got this Mizu water bottle for his birthday and I keep using it while he is gone because it is awesome. We also have a Mizu thermos and we love it. Check out their website if you haven't already.

I hope this lunch idea helped some of you. It is super easy to make after you have tried it once or twice. It takes me the same amount of time as constructing a traditional sandwich or wrap. Plus, you don't have to feel guilty about eating it when your under the pressure of swimsuit season. Now that's a win!

Wednesday, June 24, 2015

Sarah's Sweet Pork Recipe

No matter what stage of life one is in, the majority of people don't want to spend hours preparing dinner every night. Of course there are going to be exceptions, sometimes I get excited about making something really special so I spend more time preparing then I normally do. However, for the most part I like to keep a number of simple dinner recipes on hand for day-to-day use.

Now when I say recipes, I may be using that word a little loosely. I'm known for cooking without referencing any recipes. There is no doubt in my mind that I acquired this habit from my Grandma Fisher, who is always whipping up cakes, rolls, casseroles, and endless yummies without so much as a glance at a recipe book. My grandma is a phenomenal cook so I am really crossing my fingers that my skills will eventually come close to the level that hers have reached.

This habit to "wing" things works out for me most of the time, but of course I have some blunders. After my victories I get more creative and continue to make up my own creations and after my failures I fall back  to using recipes for a little while. Well about two weeks ago I happened onto a fabulous creation and I am excited to share my new recipe with you.

I was making dinner for six adults and two children. I had a 2lb pork roast I wanted to use up that I knew would easily feed everyone so I popped it into the crock pot in the morning. I put a little water in the bottom of the crock pot as well, but other then that, I added nothing.

About two hours before dinner time I decided to figure out some sort of sweet pork concoction. I am not a huge fan of the sweet pork recipes that use Colas as sweeteners, so I went to the food pantry and selected a jar of apricot preserves, tomato sauce, and diced chilies. Then I picked my enchilada seasoning from the spice cupboard.


I drained the water off of the roast and shredded it with a couple of forks. I then added all of the ingredients I had selected from the pantry along with about 3 tablespoons of enchilada seasoning. I let the shredded meat simmer in the sauce for about 2 hours.


When it came time to serve the sweet pork I set out tortillas, tortilla chips, lettuce, chopped onions and tomatoes, guacamole, sour cream, salsa, ranch, and shredded cheese.


In our family, like many other families, there are various food allergies that exist among us. This meal allows everyone to choose a sweet pork salad, burrito, taco, or nachos. Individuals can select the toppings that they want and are able to eat. I creeped on a few family members' plates so that you could get a look at what they created.


As you can see, everyone made different entrees from the meat and personalized the meal to their preference. The cutie in the last picture is my sister, and she is lovin' her sweet pork salad!


Sarah's Sweet Pork
Ingredients: 

-2lb Pork Roast
-1 Can Green Chilies
-1 Can Tomato Sauce
-Desired Toppings

Instructions:

Cook the pork on low for 6 hours in the crock pot with about 2 cups of water. Drain the water from the roast and shred the meat. Add all ingredients and mix well. Let cook on low for about 2 more hours. Serve with tortillas, tortilla chips, lettuce, chopped onions and tomatoes, guacamole, sour cream, salsa, ranch, shredded cheese, or any other desired toppings. 

Enjoy!

Monday, June 1, 2015

How to Host An Old Fashioned Tea Party


There are few events in life that are as unique, exciting, and proper as a tea party. As a little girl I pretended to have tea parties with my miniature tea cups and a tea pot full of water. For some reason the fascination with tea parties never really died for me. I think my sister can say the same because she is the one who came up with the brilliant idea of hosting our own tea party in honor of our mother and grandmothers for Mother's Day. What I love about this idea is that it provides an opportunity for an experience with the honored mothers rather than just giving them a gift. We knew the experience would be heightened if we tried to make the party as close to authentic as possible. This is the list that we used in order to include everything that we wanted in our tea party:

Tea Party 'To Do' List
-Invitations
-Centerpiece
 -Place Settings
-Tea
-Finger Foods

We started with invitations. We wanted the invitations to be dainty and formal so we found a template on our Microsoft Word program and went from there.
We found that using formal wording helped the invitation look official and fancy. We used the text:

"You Are Cordially Invited To
A Mother's
Tea Party
Time: High Noon
Place: Fisher Residence"

We used a graphic that we found online of an old-fashioned tea pot to add  a little detail. After printing out the invitations, we glued them to a piece of card stock, punched a hole in the top, and tied a piece of lace through the hole (as pictured). We put each invitation in a large envelope and put a sticker with a gold rose on the front of the envelope. We delivered the invitations on Mother's Day after our mother and grandmothers had finished eating dinner all together.

Now that the invitations were checked off our list, we moved onto a  centerpiece plan. We found the cutest, EASIEST centerpiece idea.

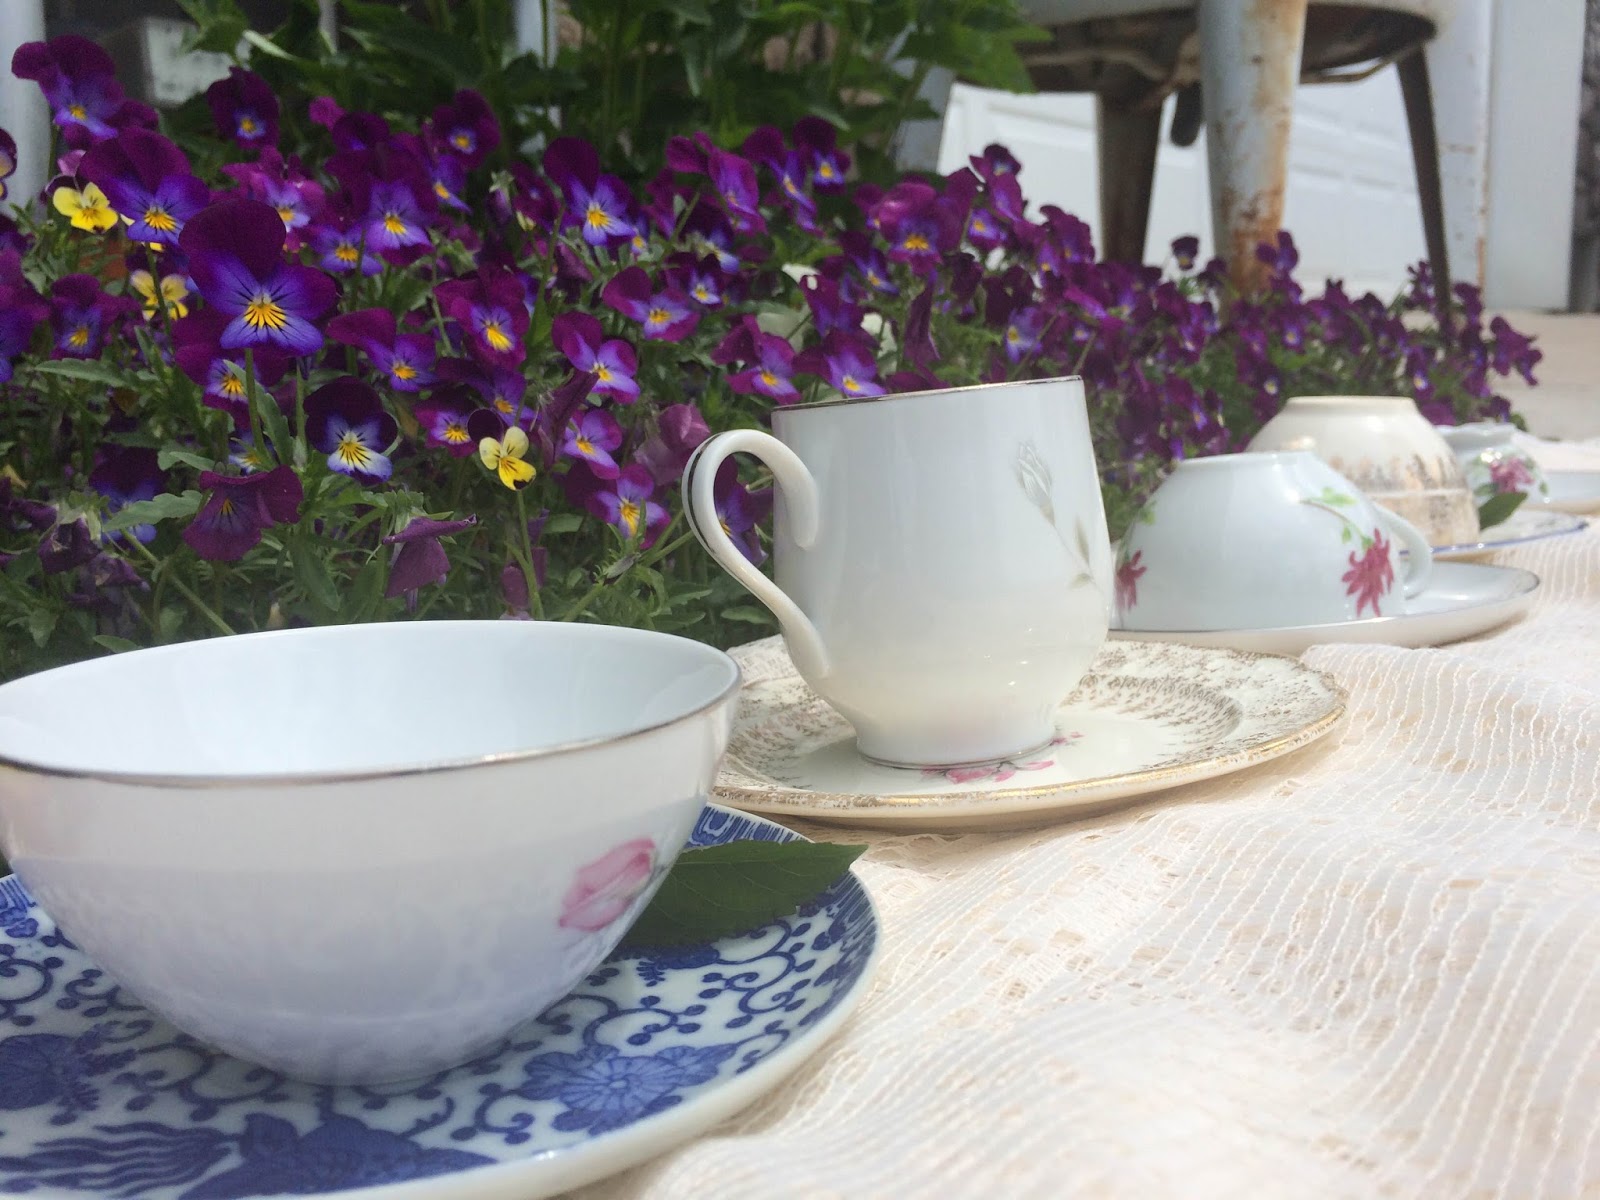
 The three-tiered refreshment serving dish turned out so cute and fit in perfectly with our china. Which reminds me, using china is a must. If you do not have china, at least invest in a teapot.


The teapots are the cutest part of the whole ensemble and make the experience feel authentic. We also used real napkins for our place settings. We used soft pink ones but after our tea party I found some adorable flowery ones that would add a splash of detail to the table. The last thing I would like to mention about the place settings is the tablecloth. We dived into the linen closet and found the pink gingham cloth shown above. Any table cloth will work as long as you feel that the print and color matches the look you are trying to achieve. Another way to improve the look of the party is by having your guests dress up! I dressed my little lady in an outfit that would match the ambiance of the party.

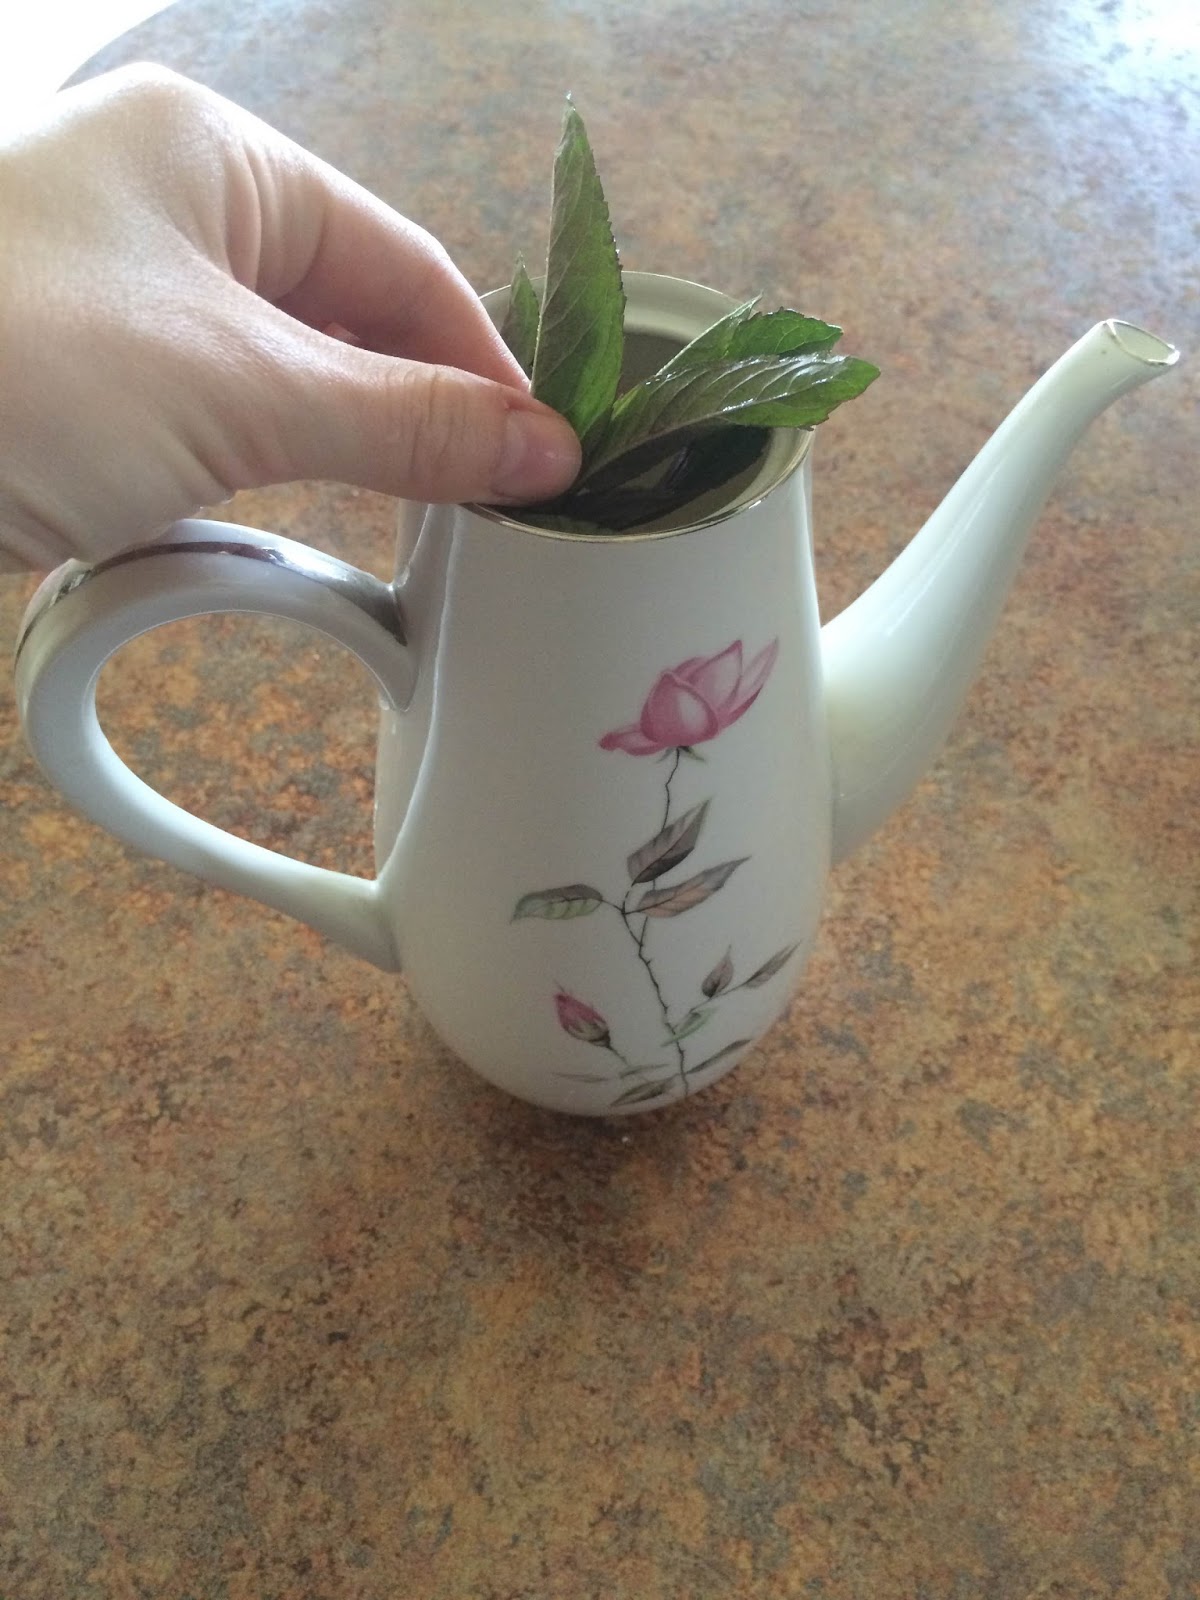
Now for the tea. My sister and I, along with our family, do not drink black or green teas. So we chose to serve peppermint tea and hot chocolate. We grow peppermint in our yard so we made our own tea. If you do not have your own peppermint plant or you would like to keeps things simple, you can pick up peppermint tea bags at your local grocery store or use dried peppermint leaves. 

Peppermint Tea Instructions
1. Pick the peppermint

2. Wash the peppermint

3. Rub the sprigs and leaves between your hands

4. Place them in the tea pot

5. Pour the hot water into the teapot

6. Let the tea steep (or set) for about 10 minutes

We like to drink our peppermint tea with a little honey. Also, some members of the family (me included) enjoy milk in their tea.

The finger foods were the most time consuming part of the preparations. I would suggest keeping most of the foods simple. We kept all of the food simple except the petit fours.

Our Food List
Fruit Salad
Chicken Salad
Finger Sandwiches
Petit Fours
Shortbread Cookies

I would suggest starting the petit fours way ahead of time. We started the day before by making the shortbread in sheets and letting it cool overnight. We cut, filled, and dipped the cakes the next morning. We timed our preparations to be complete about an hour before our guests arrived. Which allowed us time to freshen ourselves up, put finishing-touches on the table, and greet our guests. When our guests arrived we invited them to sit and visit for a moment while we put the food and tea on the table.
 Once everything was ready we invited our guests to sit at the table and enjoy the tea party. 

If you choose to host your own tea party be sure to relax once everything is complete. You have done all of the work--so enjoy it! Your guests will feel at ease and be able to have a good time if they see their hostess doing so.